mirror of
https://gitee.com/dotnetchina/OpenAuth.Net.git
synced 2025-07-18 22:35:58 +08:00
43 lines
1.2 KiB
Markdown
43 lines
1.2 KiB
Markdown
---
|
||
title: 部署
|
||
createTime: 2025/04/23 23:43:26
|
||
permalink: /pro/deploy/
|
||
---
|
||
|
||
后端接口部署请参考:[部署API](/core/deployapi/),前端打包流程如下:
|
||
|
||
首先修改配置文件`.env.production`,打包构建前请调整为自己的接口地址:
|
||
|
||
```javascript
|
||
VITE_BASE_API = http://demo.openauth.net.cn:52789/api
|
||
|
||
VITE_BASE_IMG_URL = demo.openauth.net.cn:52789
|
||
```
|
||
|
||
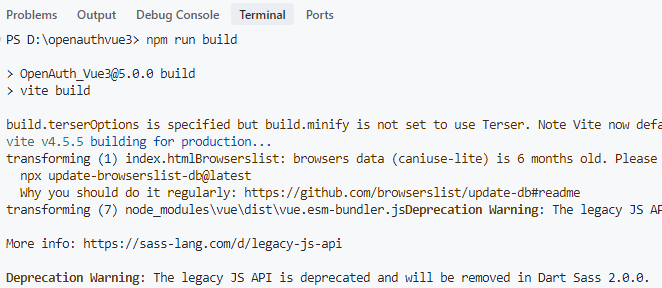
然后使用`npm run build`进行打包构建:
|
||
|
||
|
||
|
||
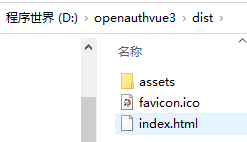
构建完成后会生成dist文件夹。如下:
|
||
|
||
|
||
|
||
该文件夹为纯静态的页面,可以使用任何自己喜欢的Web服务器进行部署,如IIS/tomcat/nginx等。个人推荐使用nginx部署。
|
||
|
||
nginx下载安装可参考:[https://blog.csdn.net/github_39088222/article/details/79482461](https://blog.csdn.net/github_39088222/article/details/79482461)
|
||
|
||
nginx.conf推荐配置如下:
|
||
|
||
```javascript
|
||
server {
|
||
listen 1803;
|
||
#server_name pro.openauth.net.cn;
|
||
location / {
|
||
alias /openauthvue3/dist/;
|
||
expires 1d;
|
||
}
|
||
|
||
access_log /www/wwwlogs/pro.log;
|
||
}
|
||
|
||
``` |